Mixed Uploads: Images + Videos Together and the Create As Toggle
Upload images and videos in one batch: how the Image/Video tabs work, what the Create As toggle does, and how to pick frames and adjust crops per format.
Aspectr doesn’t make you split a campaign into separate image and video runs. Drop photos and videos into the upload zone together, and the format step adapts: tabs for each media type, and a toggle that lets videos produce either resized videos or still-image ads. This guide covers how the pieces fit together.
Image / Video tabs
When a batch contains both images and videos, the format selector splits into an Image tab and a Video tab. Each tab shows only the formats that make sense for that media type, and your selections on one tab are kept while you work on the other.
The Create As toggle
On the video tab you’ll find the Create As toggle, which decides what your videos become:
- Create As: Video — resized video outputs (Reels, Shorts, in-stream, and so on).
- Create As: Image — extract a still frame from each video and produce image ads from it (thumbnails, banners, feed images).
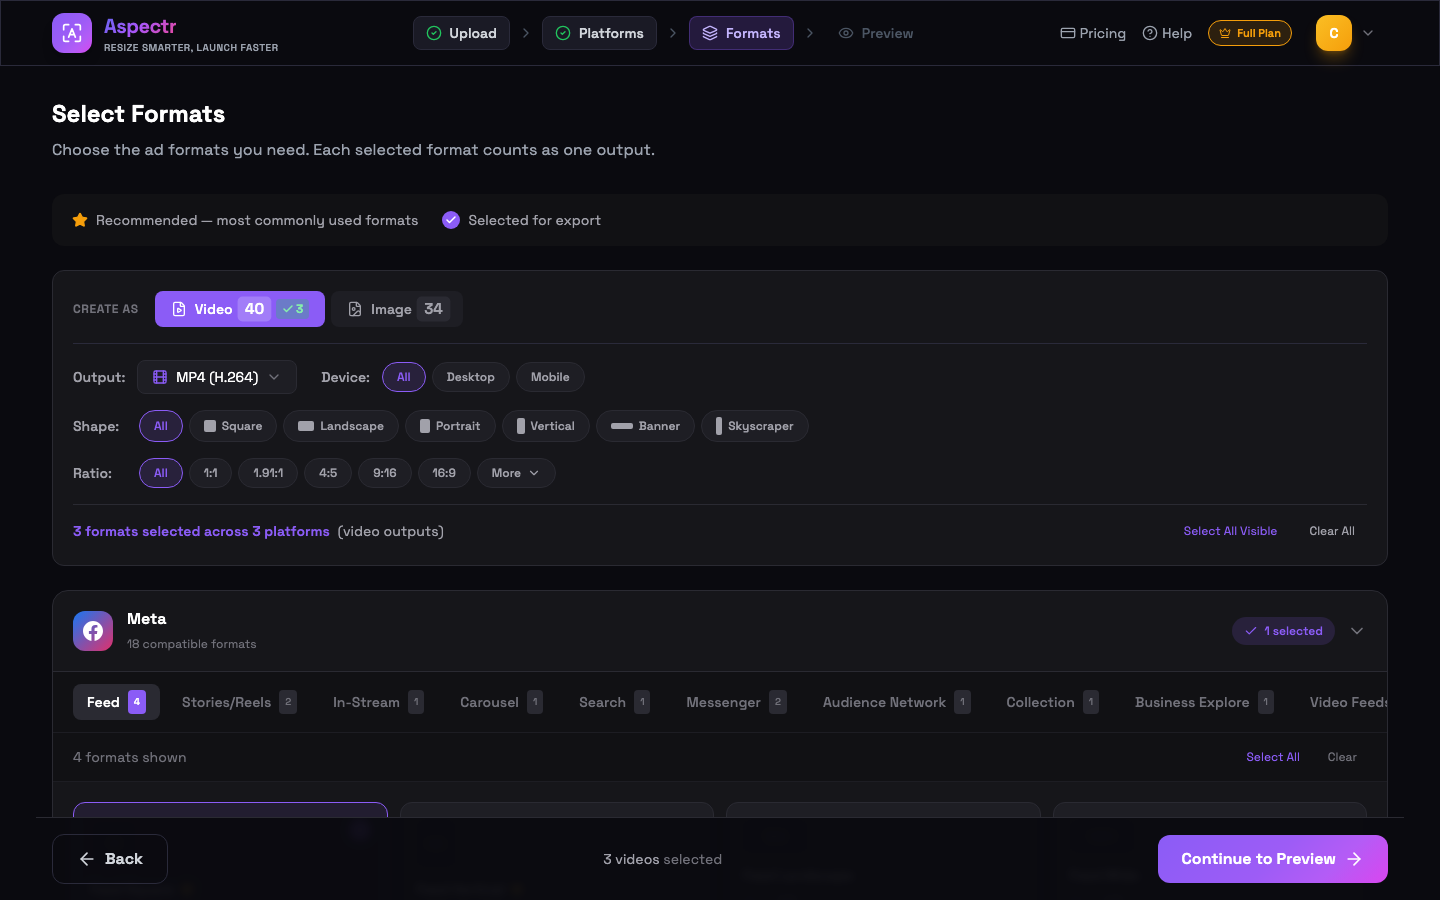
Under the hood there are three independent selection buckets: image formats for your images, video formats for your videos, and image formats for your videos (frame extraction). All three can be filled in the same batch and are processed in one run.
The frame selection step
If any video is set to produce image outputs, a frame selection step appears before the preview:
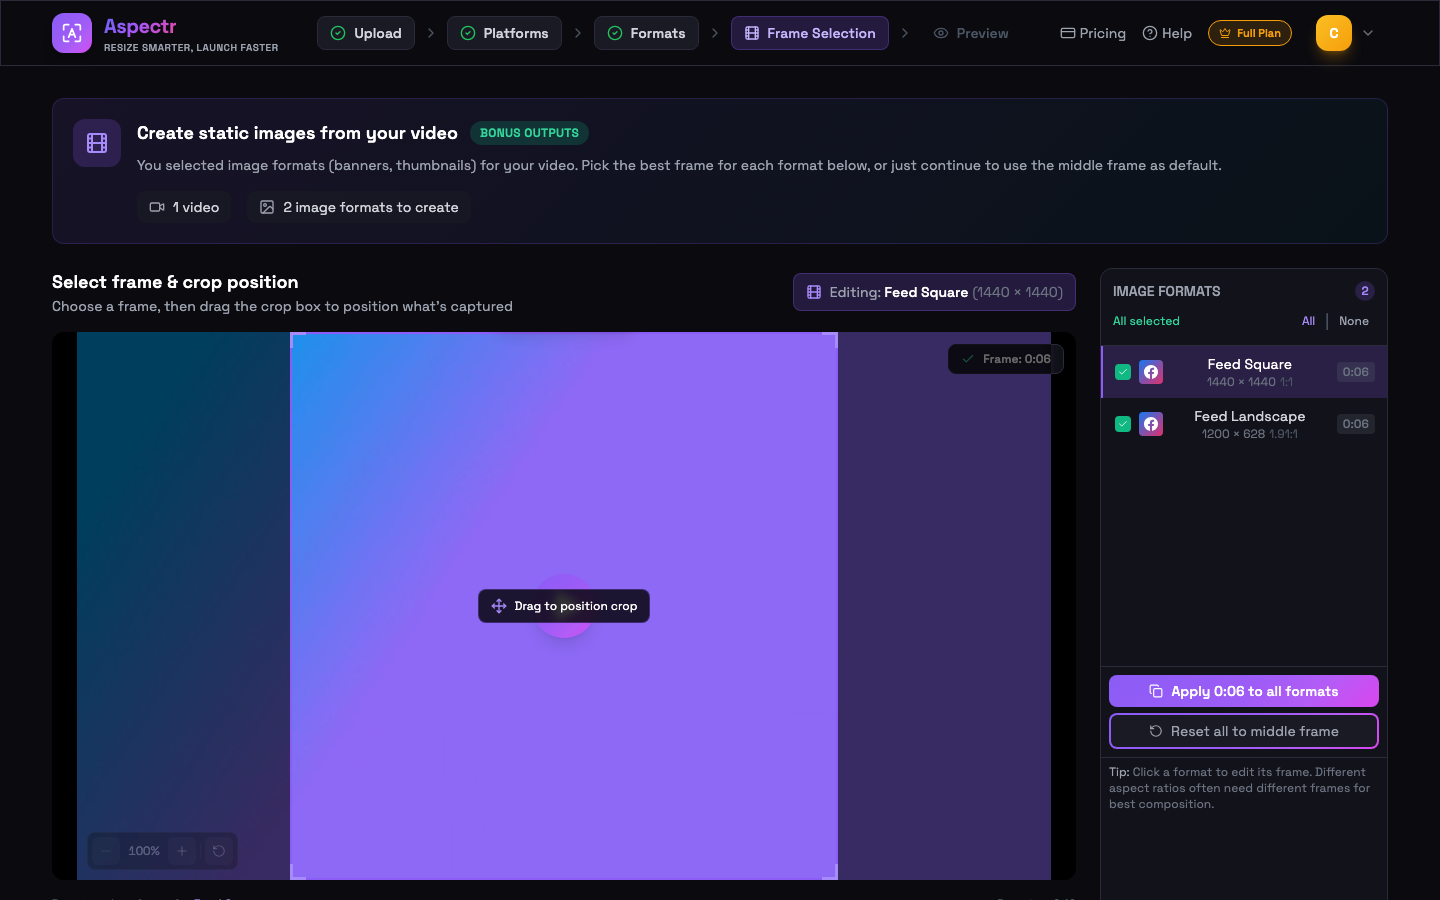
- Scrub to pick the frame — drag through the filmstrip to find the best moment for each video.
- Use middle frame for all — one click applies each video’s middle frame across the batch.
- Reset to middle — snap any video back to its middle frame if you change your mind.
- Drag the capture box — position the crop area over the part of the frame that matters.
Preview and adjust, per format
- Drag the focal point — every format has its own crop; drag the highlighted region to reposition what each output shows.
- Zoom controls — the zoom pill (or mouse wheel) scales the source inside the crop.
- Rule-of-thirds grid — a toggleable composition grid inside the crop box.
- Include / exclude outputs — per-file, per-format toggles control exactly which outputs end up in the ZIP.
- Fit indicators — an amber warning marks formats whose aspect ratio differs sharply from your source, meaning a heavy crop will be needed.
From there it’s the standard flow: confirm, process, download. The Video Resizing guide covers the video pipeline and output codecs if your batch includes video outputs.
Common questions
Yes. Image outputs (from images and from extracted frames) count against your image quota; video outputs count against your video minutes. The confirmation modal before processing shows both numbers.
Yes. The Create As toggle keeps two independent selections for your videos — pick video formats with Create As set to Video, switch to Image and pick image formats too. Both are processed in one run.
The format selector automatically focuses the tab you still have quota for. On the Image Plan (which includes no video minutes), selecting video output formats routes you to pricing — but frame extraction produces image outputs, which the Image Plan handles without limit.
No. The middle frame is used by default, and "Use middle frame for all" applies it to the whole batch in one click. Picking frames manually is only needed where the middle frame is not the best moment.