Getting Started: Resize an Image for Every Ad Platform
Upload an image, pick platforms and formats, adjust crops with safe zones, and download every size as one ZIP.
Aspectr turns one creative into every ad size you need: upload once, pick your platforms and formats, fine-tune the crops, and download everything as a single organized ZIP. This guide walks through the full image workflow — the same four steps you see in the app header: Upload → Platforms → Formats → Preview.
Step 1 — Upload your image
Drag one or more files into the upload zone on the start screen, or click it to browse. Aspectr accepts JPG, PNG, WebP, and GIF images (and MP4, MOV, WebM videos — see the video guide). You can also paste a direct file URL instead of uploading.
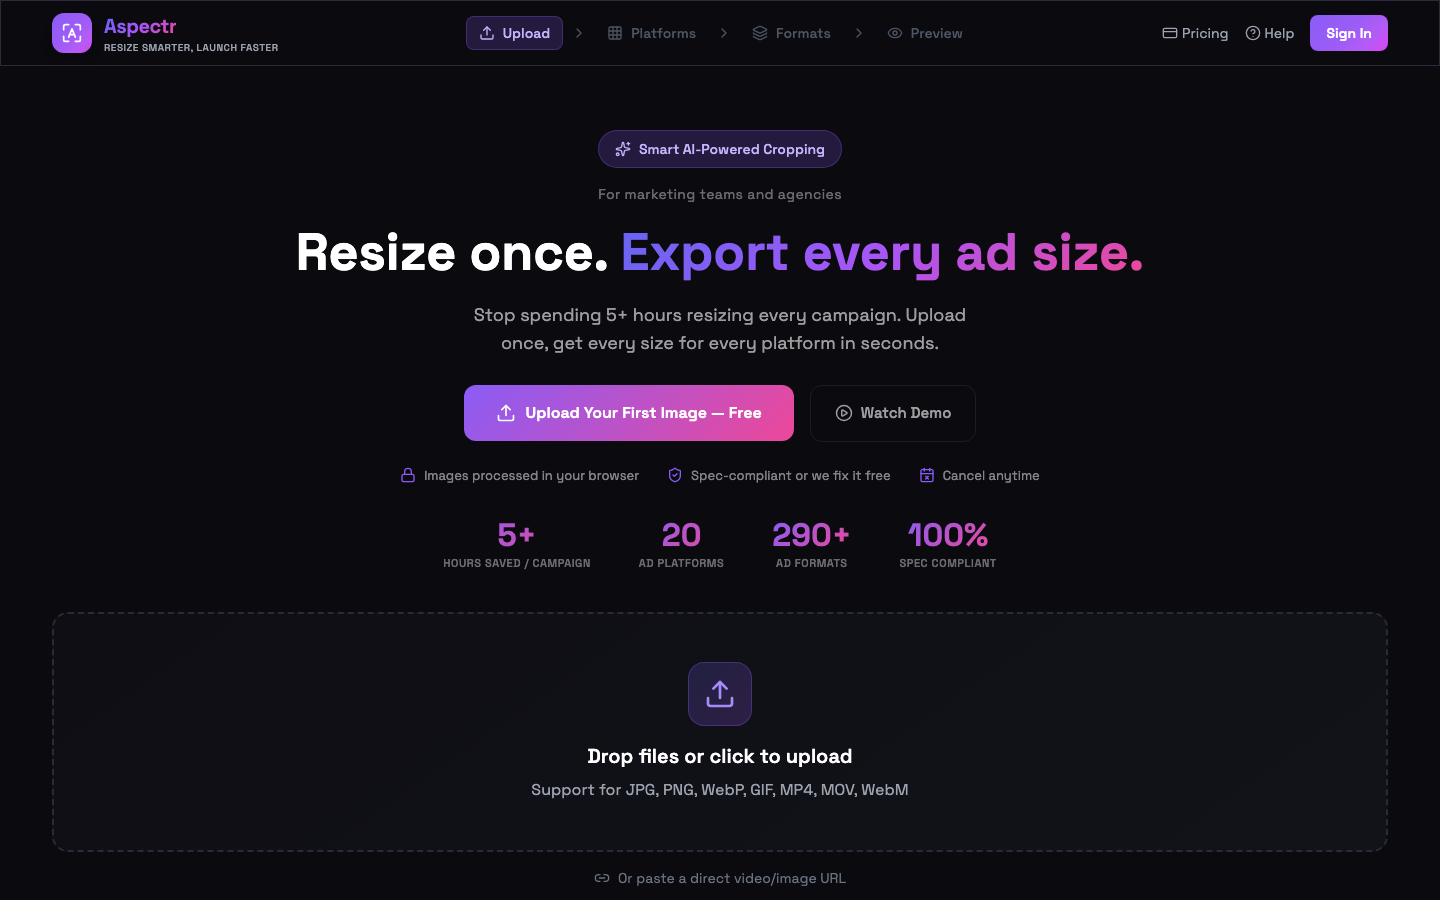
File size limits depend on your plan: 200 MB per file on the free trial, 2 GB on paid plans. If a file is too large you'll see exactly which files are affected and can continue with the valid ones.
Step 2 — Select platforms
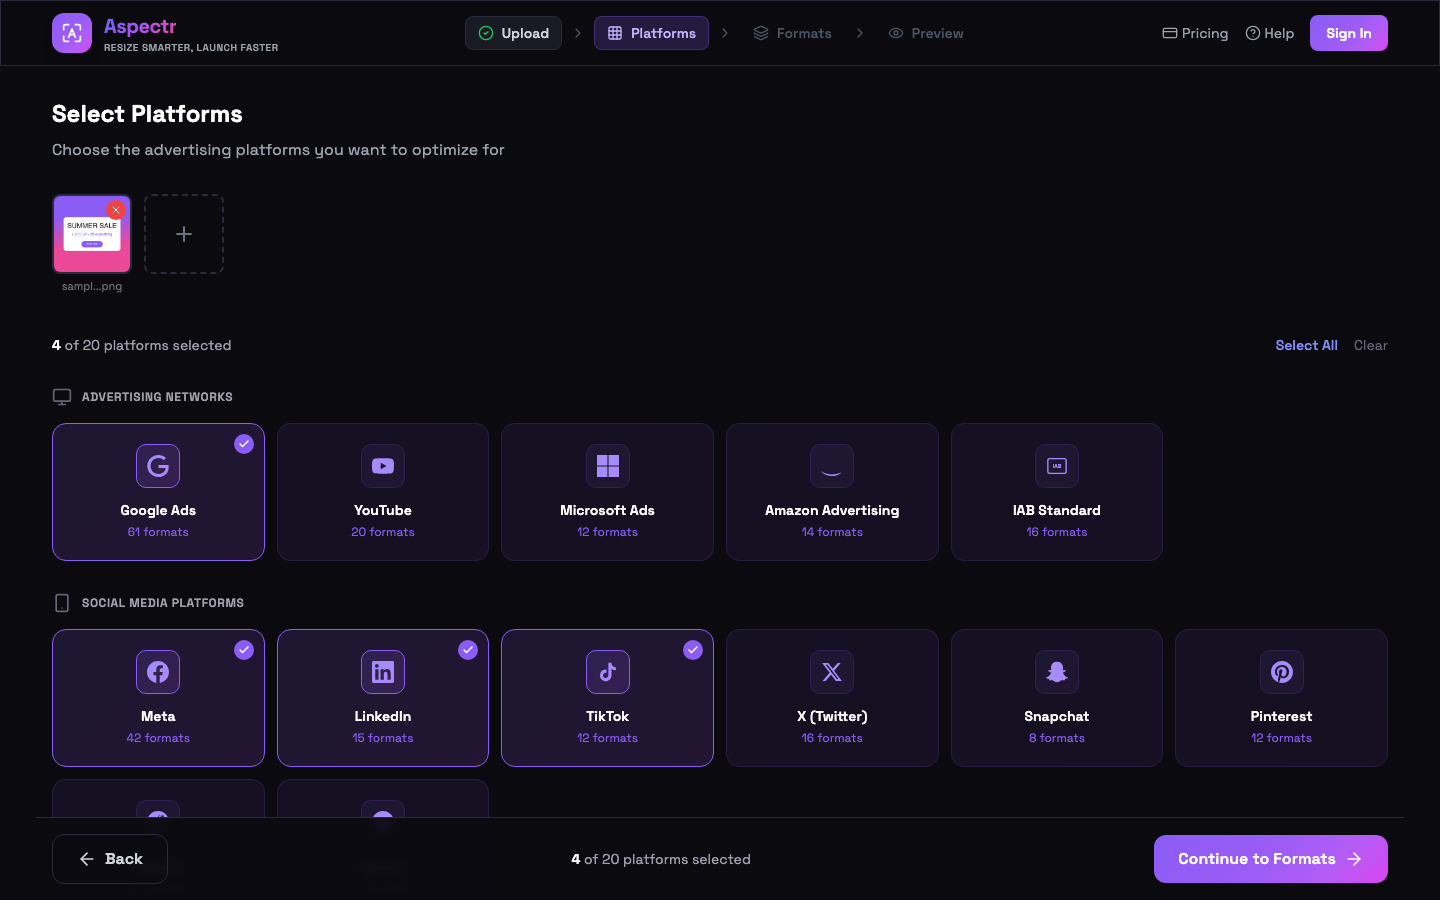
Choose where your ads will run. Aspectr covers 20 platforms with 295+ formats, grouped into Advertising Networks (Google Ads, YouTube, Microsoft, Amazon, IAB), Social Media (Meta, LinkedIn, TikTok, X, Snapchat, Pinterest, Reddit, Quora), Audio (Spotify), and Regional platforms (LINE, Naver, Kakao, Yahoo! Japan, Yandex). Each card shows how many formats the platform has. Select as many as you need — or hit Select All.
Step 3 — Select formats
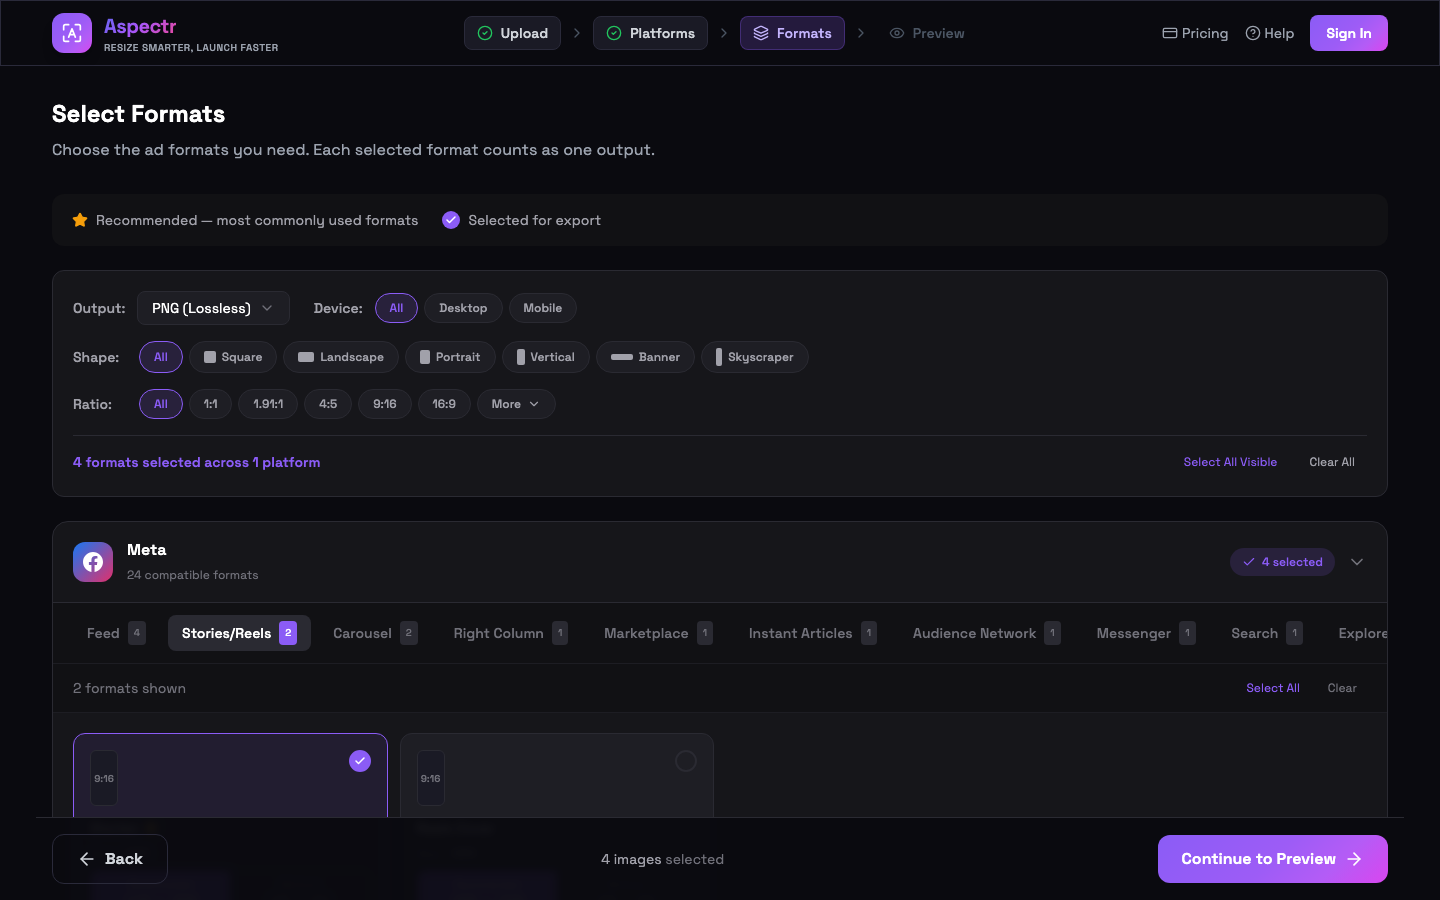
Every platform expands into its real placement categories — Meta shows Feed, Stories/Reels, Carousel, Messenger and more; Google Ads shows Responsive/PMax, Display Network, Demand Gen, and so on. Formats marked with an amber star are the most commonly used placements, so starting with starred formats is a safe default.
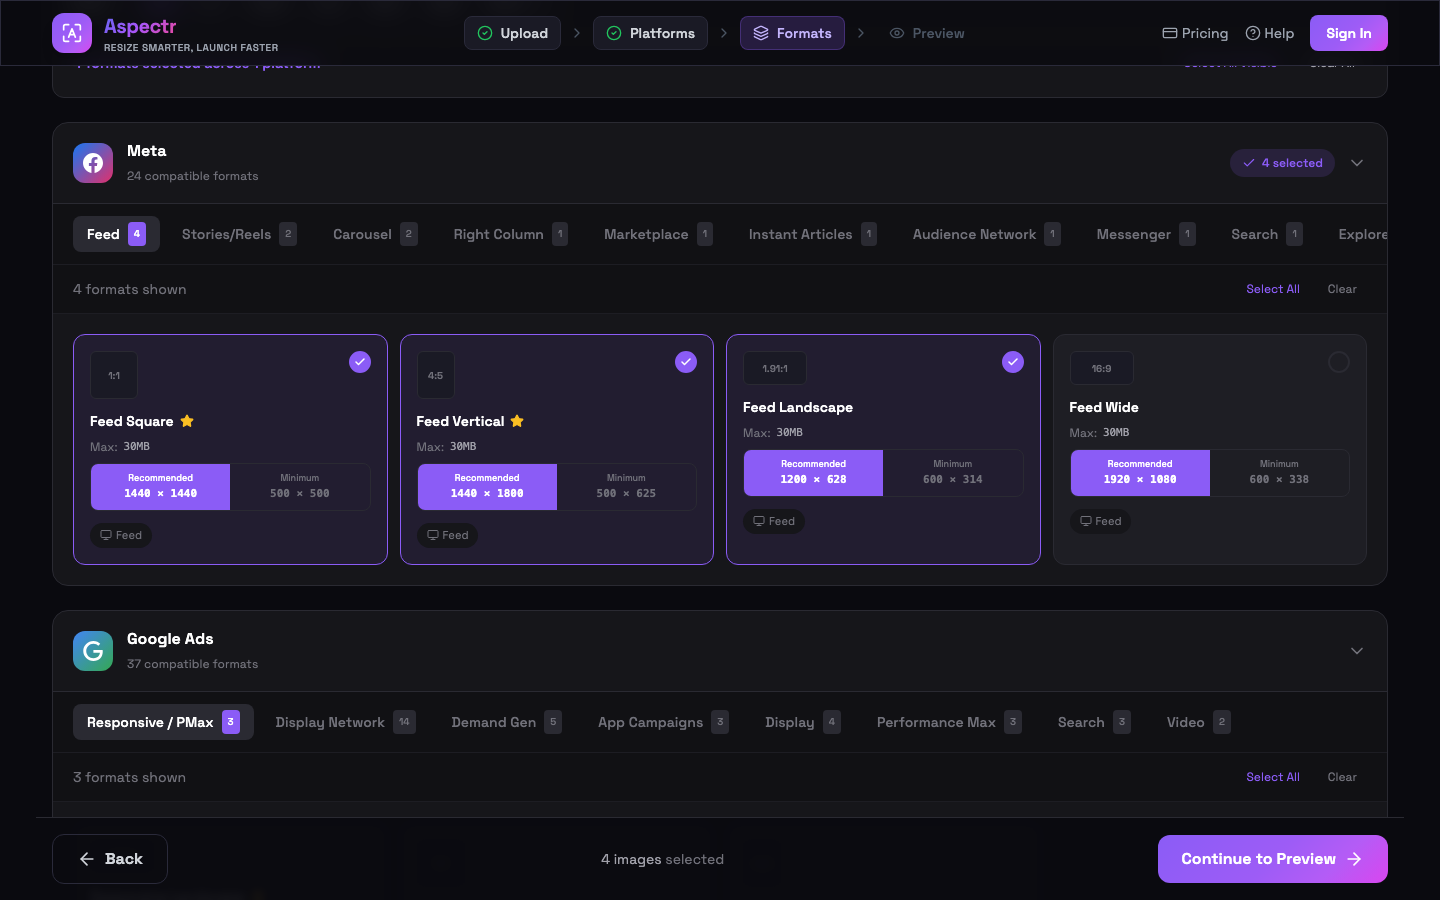
Each format card gives you the platform's actual spec:
- Recommended vs. Minimum size — many formats let you toggle which resolution to export (e.g. Feed Square at 1440×1440 recommended or 500×500 minimum).
- Max file size — the platform's upload limit for that placement (e.g. 30 MB for Meta Feed).
- Placement and device — where the ad runs and whether it's desktop or mobile.
Above the list you can switch the Output between PNG (Lossless), JPG (Smaller files), or Both PNG & JPG, and filter by device, shape, or aspect ratio.
Step 4 — Preview and adjust crops
The preview step shows exactly what will be exported for every file and format combination. The highlighted region is the crop; everything dimmed is cut away.
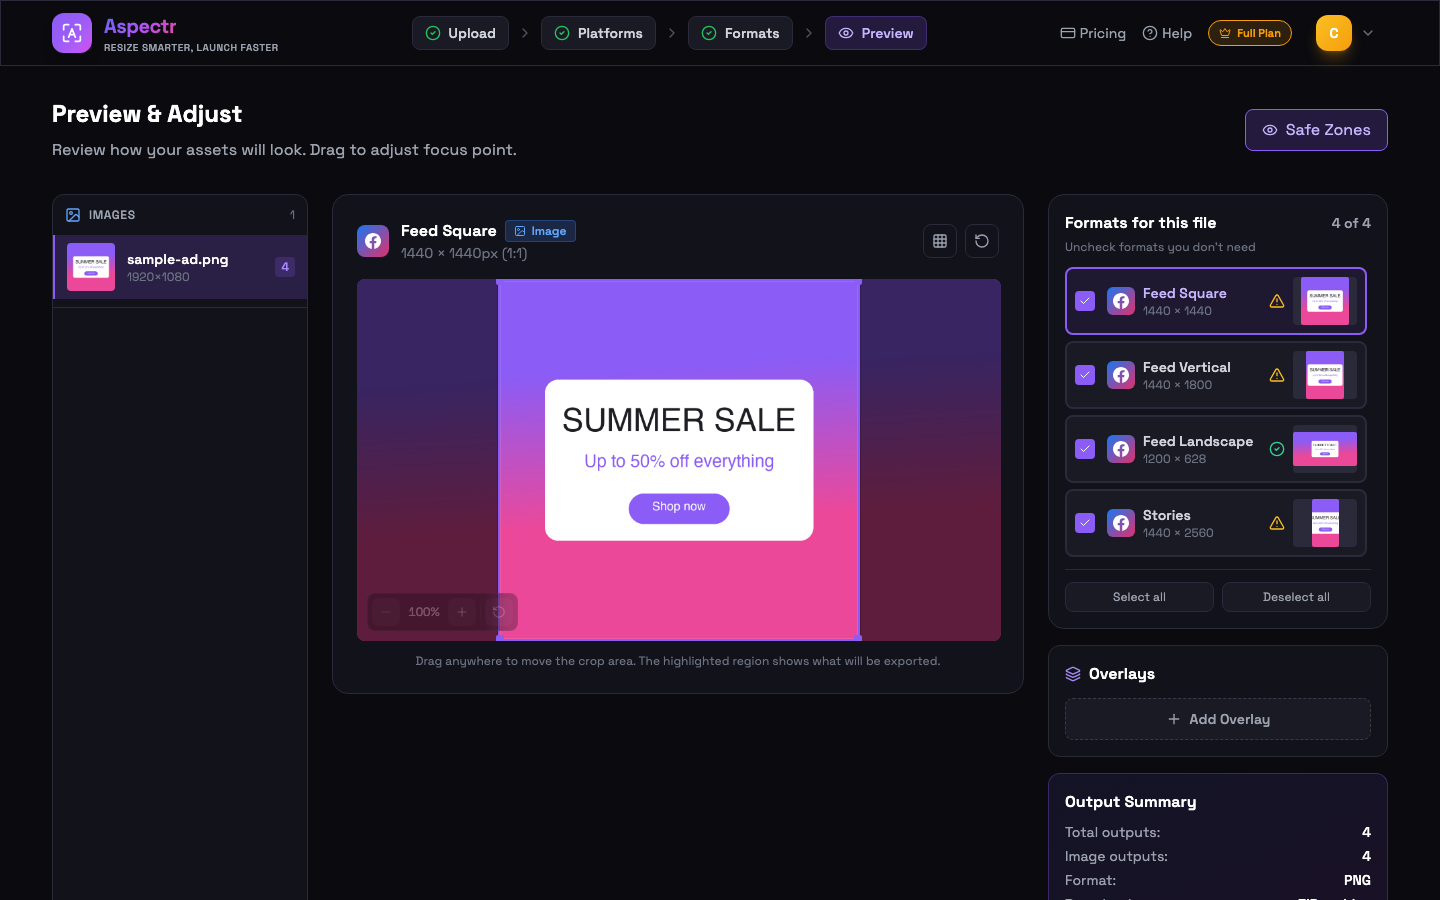
- Drag anywhere in the image to move the crop area. Crops start centered by default.
- Zoom from 100% to 300% with the +/− pill or your mouse wheel, and reset with the center button.
- Rule-of-thirds grid — toggle it from the toolbar for precise composition.
- Uncheck formats in the right-hand list to drop ones you don't need — the output summary recalculates instantly.
Safe zones
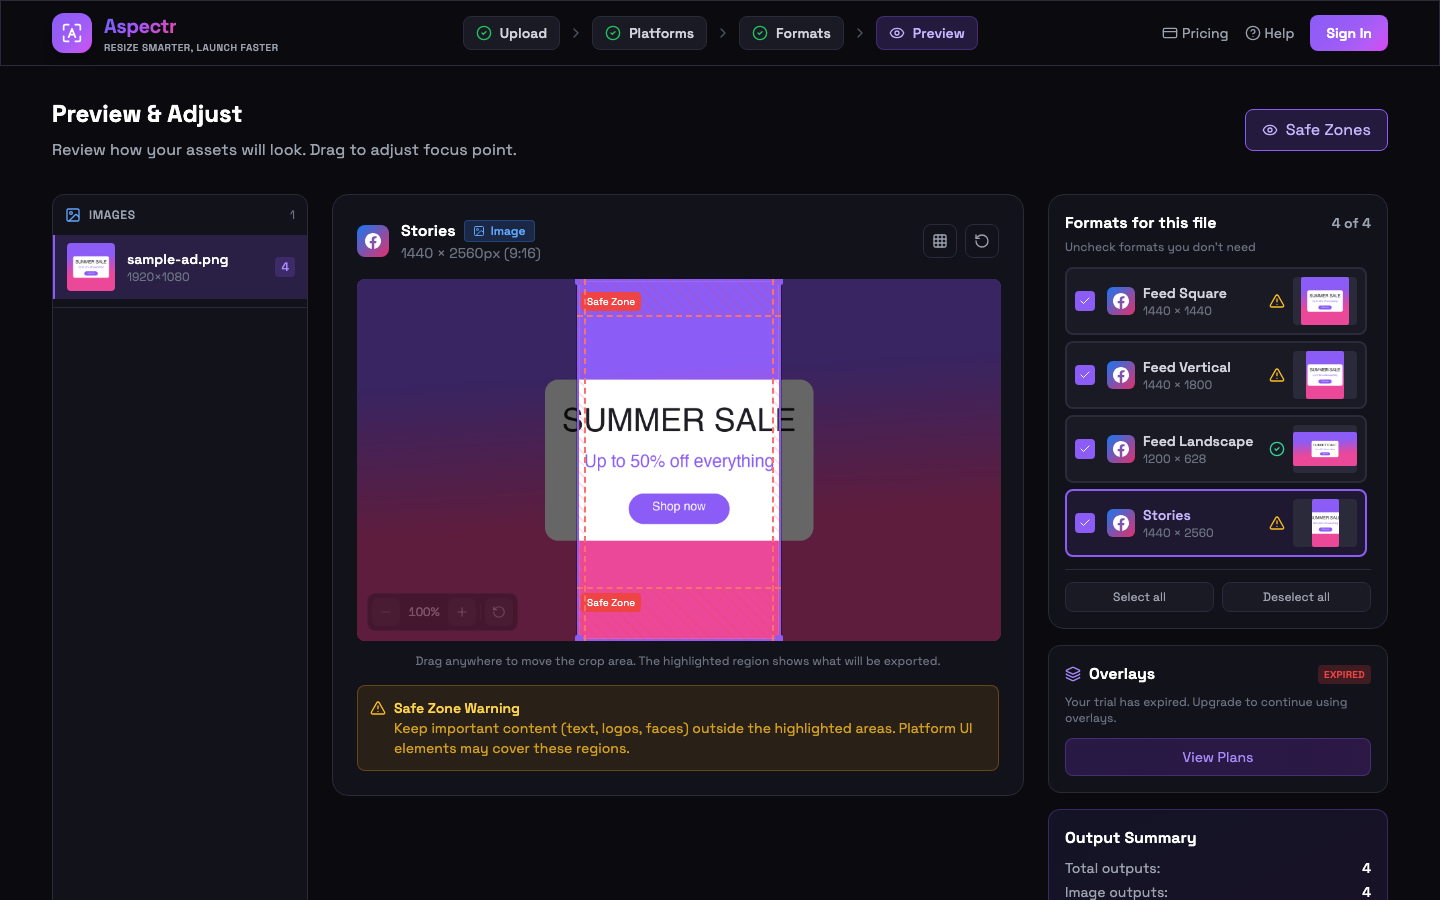
For vertical placements like Stories, Reels, and Shorts, platform UI (profile name, CTA buttons, navigation) covers parts of your creative. Aspectr shows these areas as Safe Zone bands on Meta, TikTok, YouTube, Snapchat, Pinterest, LINE, and Naver formats. Keep text, logos, and faces out of the highlighted regions. The toggle in the top-right corner turns the guides on and off (they're on by default).
Step 5 — Generate and download
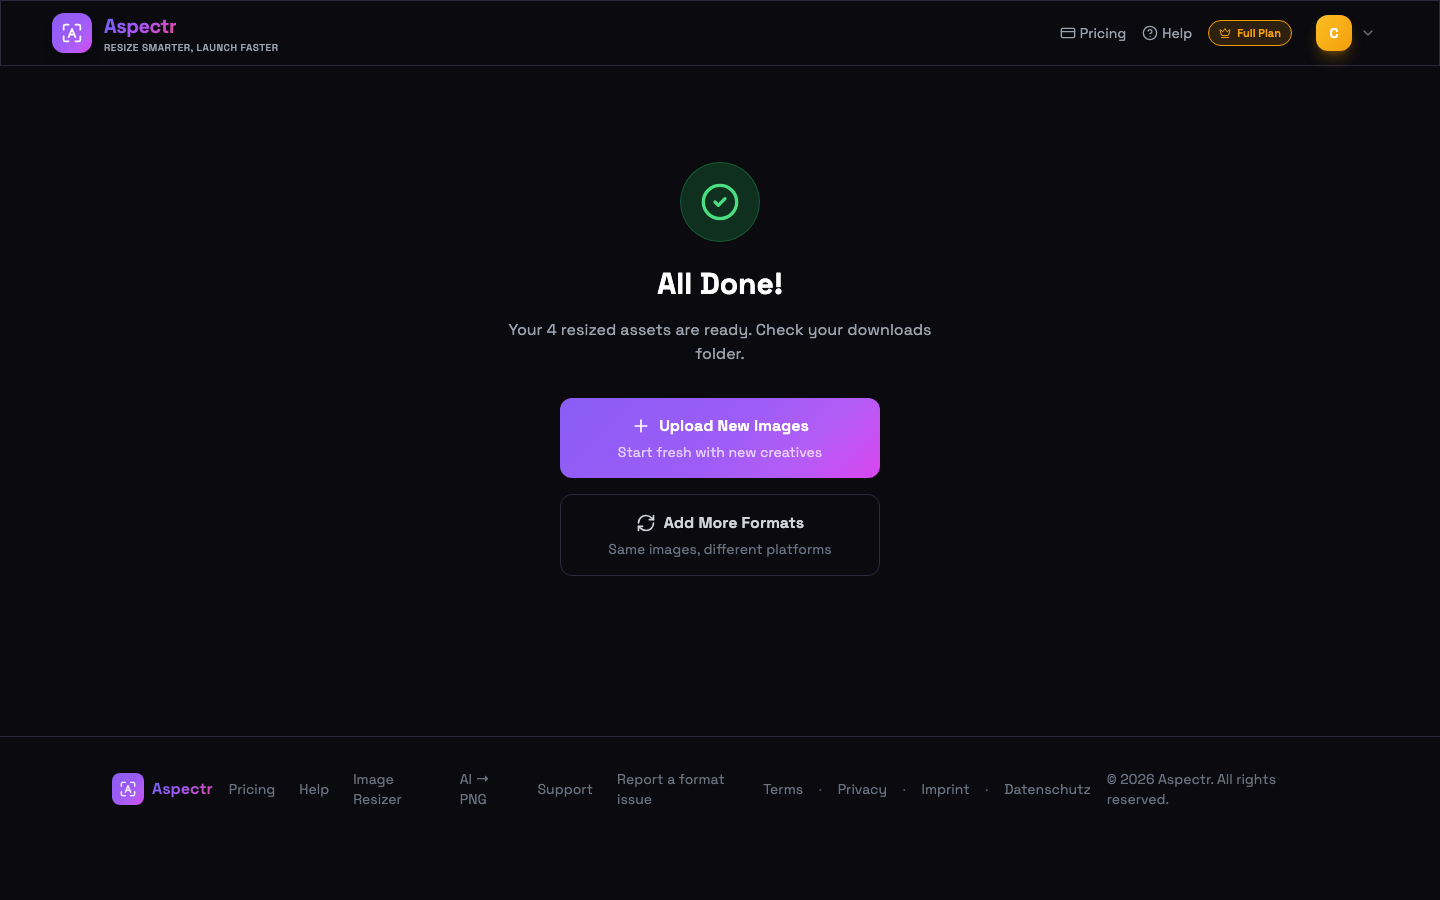
Click Generate & Download. Images are processed in your browser in seconds, then packaged into a ZIP organized by platform:
| ZIP contents | Example |
|---|---|
| One folder per platform | Meta (Facebook & Instagram)/ |
| Descriptive filenames | myad_meta_feed-square_1440x1440.png |
| Custom sizes get their own folder | Custom Formats/ |
Common questions
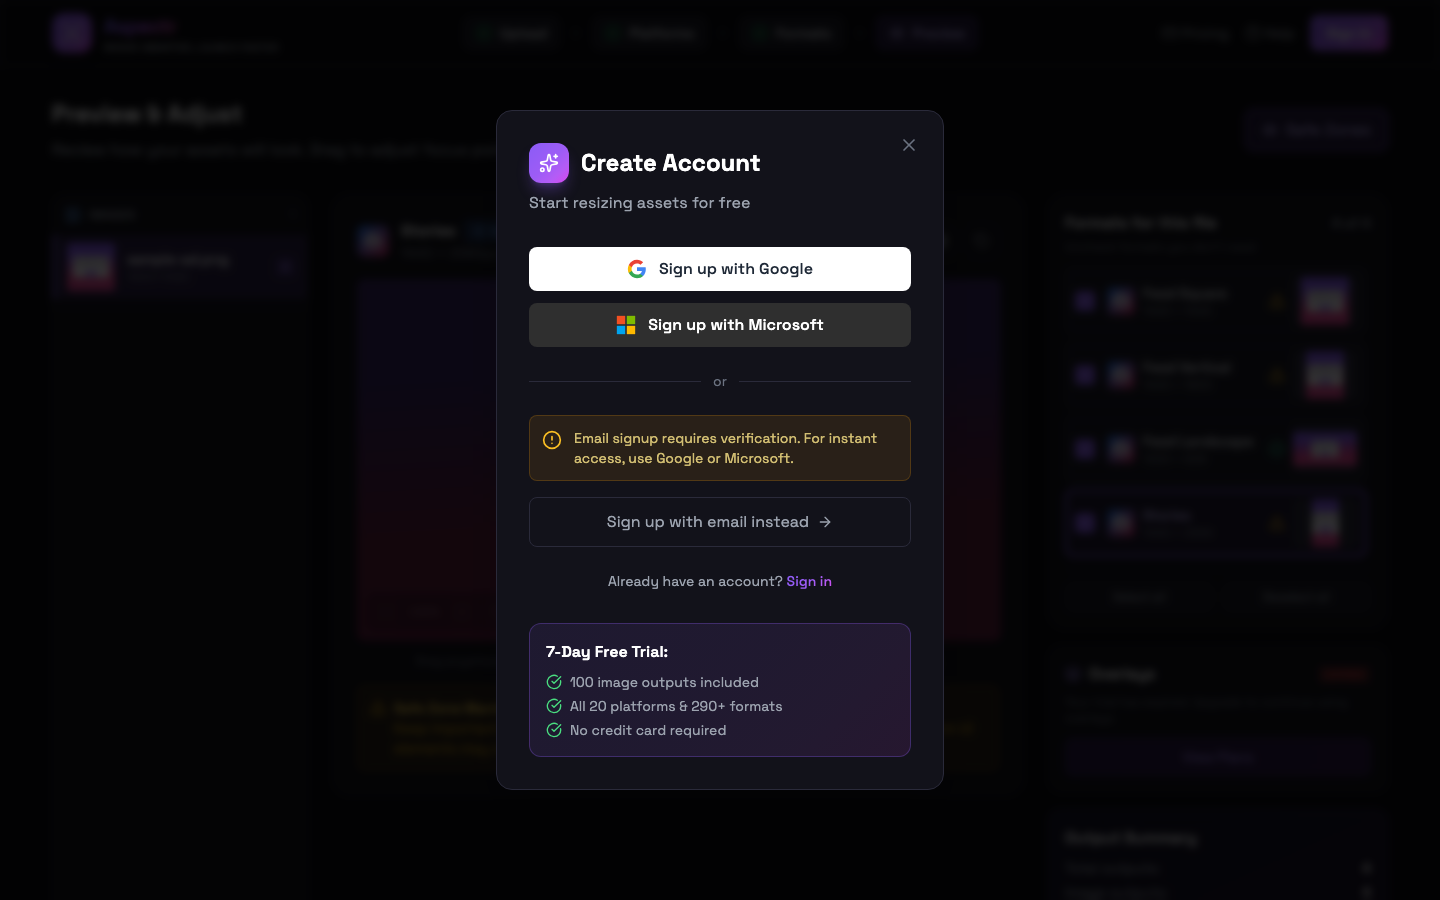
No. You can upload, select platforms and formats, and preview every crop without an account. An account (free 7-day trial, no credit card) is only required when you download your files.
No. Images are processed entirely in your browser — they never leave your device. Only videos use cloud processing, because browsers cannot re-encode video at production quality.
JPG, PNG, WebP, and GIF. Exports are PNG (lossless), JPG (smaller files), or both.
Up to 200 MB per file on the free trial, and up to 2 GB per file on the Image Plan and Full Plan.
On paid plans, as many as you want — image outputs are unlimited on both the Image Plan and the Full Plan. Only the free trial has an allowance: 100 image outputs, where each selected format for each uploaded file counts as one output.